
Laser engraving is redefining how we experience glass—transforming it from a purely visual medium into something you can see and feel. Long valued for its clarity, glass can now be enhanced with textures, patterns, and engraved through precision laser technology. These modern techniques allow intricate designs to be etched onto or beneath the surface, turning smooth glass into a detailed, tactile work of art.
In this guide, we’ll explore how laser engravers create these effects, and how they’re changing glass from a passive material into an interactive masterpiece.
Table Of Contents:
- Glass Laser Engraving Explained: Everything You Need to Know
- What Should You Know Before Laser Engraving Glass Materials?
- How To Laser Engrave Glass: A Step-By-Step Beginner’s Guide
- Tips To Improve The Quality Of Your Glass Laser Engraving
- Avoid These Common Mistakes in Glass Laser Engraving
- Glass Material Compatibility For Laser Engraving
- Ready To Elevate Your Glass Engraving?
Glass Laser Engraving Explained: Everything You Need to Know
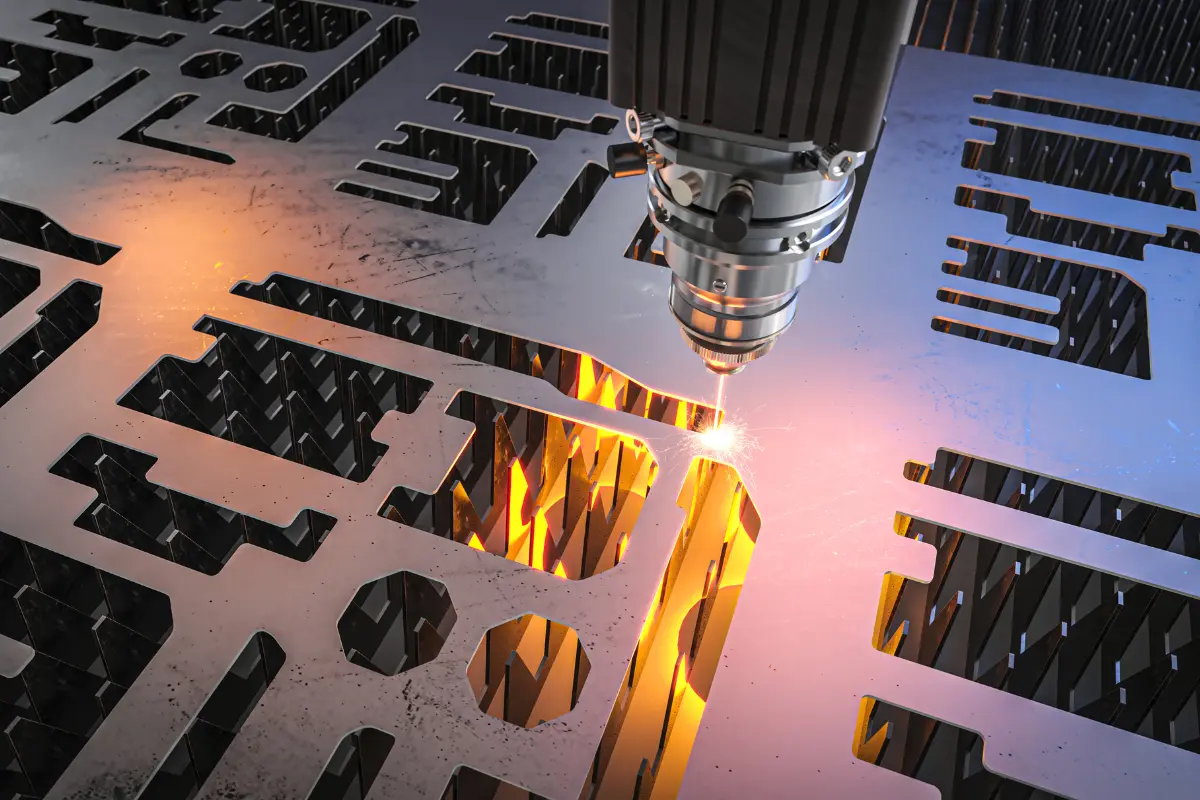
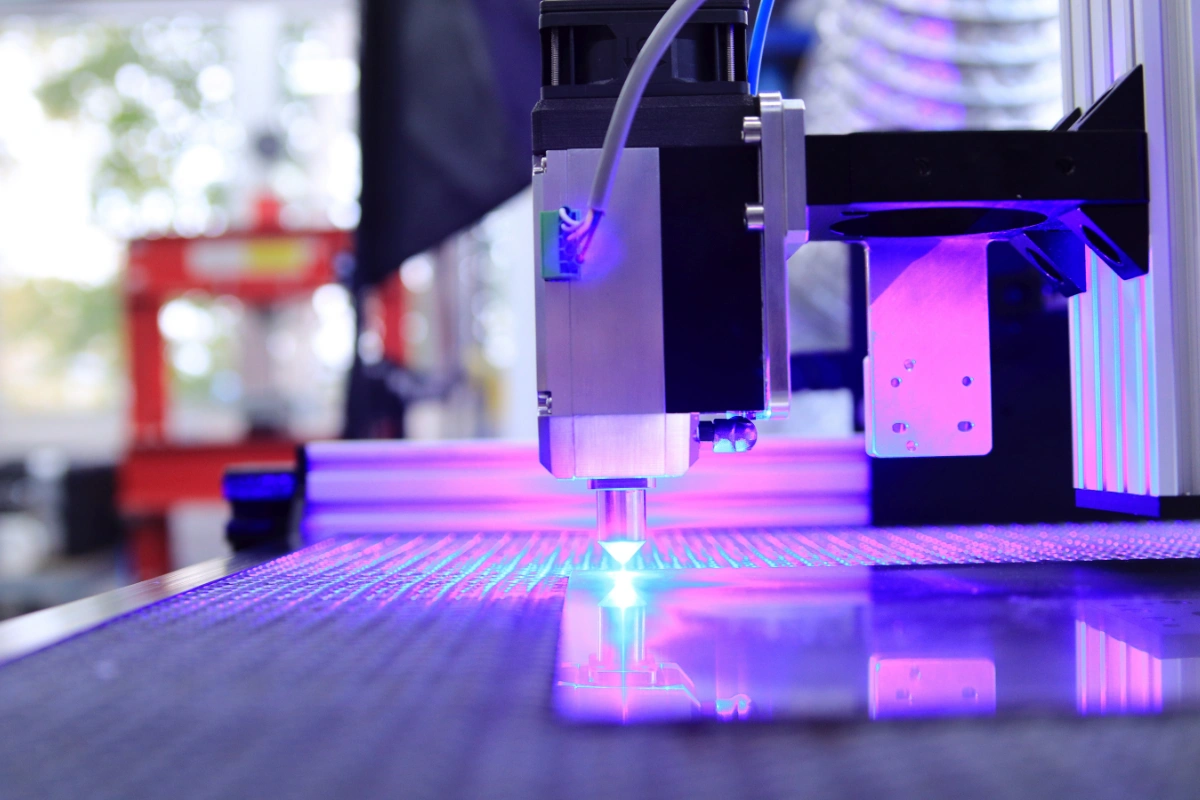
Laser engraving on glass blends advanced technology with artistic precision. Instead of physical contact, a focused laser beam delivers concentrated energy that heats and vaporizes tiny areas of the glass surface or just beneath it. This controlled energy causes microscopic fracturing or material removal, creating tactile textures and engraving.
By adjusting the laser’s power and speed, different effects can be achieved:
- A frosted or matte finish by lightly etching the surface
- Deep grooves and pronounced textures through more intense engraving
- Intricate patterns etched beneath the surface without damaging the outer layer
This precise, contact-free process produces sharp, durable engravings that enhance both the look and feel of glass, making it ideal for custom glassware gifts, signage, decorative pieces, and architectural features.
What Should You Know Before Laser Engraving Glass Materials?
If you’re trying to figure out how to laser engrave glass, there are a few important bits to get straight before you dive in. First up, understanding how the laser works with glass.
1. Laser Type
CO2 lasers are commonly used for glass laser engraving due to their effectiveness on non-metal materials. They work best for surface-level etching and light engraving.
Power and Speed Settings
How deep or visible the engraving turns out has a lot to do with how strong and fast the laser runs. Lower speeds and higher power usually result in more profound or more textured effects.
2. Masking or Coating
Before turning on the laser, apply a thin layer of dish soap, put a strip of tape, or cover the glass with paper. This helps distribute heat evenly and prevents the glass from cracking or chipping.
3. Designing Software
Make your design with vector or bitmap software. Keep it clean and precise, especially when working on detailed things like logos or fine patterns.
How To Laser Engrave Glass: A Step-By-Step Beginner’s Guide
The following steps should be adhered to when performing laser engraving on glass:
– Design Creation
Start by creating your design. Whether it’s text, logos, or images using software suited for vectors. Save the file in a format that your laser machine can read, usually a vector type for most precise results.
– Laser Setup
Adjust your machine’s power, speed, and resolution based on the type of glass and the effect you want to achieve. These settings affect how deep and sharp the engraving will be.
– Material Placement
Secure the glass firmly on the engraving bed. Proper alignment is key to avoid any movement that could spoil the design.
– Engraving Process
Run the machine to begin engraving. The laser follows your design with precision. Duration varies depending on size and detail.
– Finishing Touches
Once complete, remove and clean the glass. Optional steps like polishing or protective coatings can enhance appearance and durability.
Tips To Improve The Quality Of Your Glass Laser Engraving
You can ensure the optimal results and raise the quality of your glass laser engraving. Consider the following key practices:
1. Clean the Glass
Remove dust, smudges, and fingerprints with a good glass cleaner and a dust-free cloth. Even tiny bits of dirt can affect the laser or cause uneven engraving.
2. Apply Masking
Cover the parts you don’t want engraved using painter’s tape or a laser-safe mask. This helps prevent small cracks or chipping around the edges during the process.
3. Focus and Align
Make sure the laser is focused properly and the glass is placed flat. Even a slight tilt or misalignment can blur the design or cause inconsistencies.
4. Use Multiple Light Passes
Instead of doing it all at once, go over the glass several times lightly. This lowers the risk of cracking and lets you control the engraving depth better.
5. Run A Test Pass
Always test your settings on a scrap piece first. It’s the safest way to spot errors and fine-tune before working on your final glass.
Avoid These Common Mistakes In Glass Laser Engraving
Understanding and avoiding the common mistakes listed below for glass laser engraving is essential for achieving high-quality results without wasting your precious time.
– Using Too Much Power
Turning the laser power too high can crack or break the glass. It’s smarter to start low and raise the power little by little. Too much power can also cause chipping and rough spots on your design.
– Quick Engraving
Moving the laser too quickly can make the engraving shallow and patchy, losing the fine details. Faster speeds might save time, but often hurt the final quality. Taking it slower lets the laser cut cleanly and clearly.
– Ignoring Glass Differences
Not all glass is of the same thickness, type, and material. It is affected by how it reacts to engraving. Using one setting for all glass can spoil your work. Make sure to adjust your settings to fit the glass you’re working with.
– Skipping Regular Upkeep
Cleaning your laser and keeping it ventilated is an important aspect. Skipping simple maintenance like lens cleaning can slow down the machine and make your engravings look worse over time.
Glass Material Compatibility For Laser Engraving
Laser technology is compatible with various types of glass, including:
- Tempered Glass: Strong and heat-resistant; suitable for precise engraving with care.
- Tinted Glass: Colored glass that allows for clear, high-contrast laser marking.
- Toughened Glass: Durable and impact-resistant; ideal for decorative or branding use.
- Float Glass: Smooth and uniform; perfect for detailed laser engraving.
- Stained Glass: Colored and artistic; can be etched without affecting the surface design.
- Laminated Glass: Multi-layered; supports marking for security or custom designs.
- Glazed Glass: Common in windows and architecture; engravable for functional or aesthetic purposes.
Ready To Elevate Your Glass Engraving?
Choose Prakash Laser for unmatched precision, speed, and durability in every engraving machine. Engineered to deliver sharp, detailed results on all common glass types—including tempered, stained, and laminated—our machines offer dependable cooling, easy controls, and reliable performance. Whether you’re a beginner or a professional, enjoy seamless operation backed by dedicated after-sales support. Partner with Prakash Laser and turn every glass surface into a stunning, tactile masterpiece.